
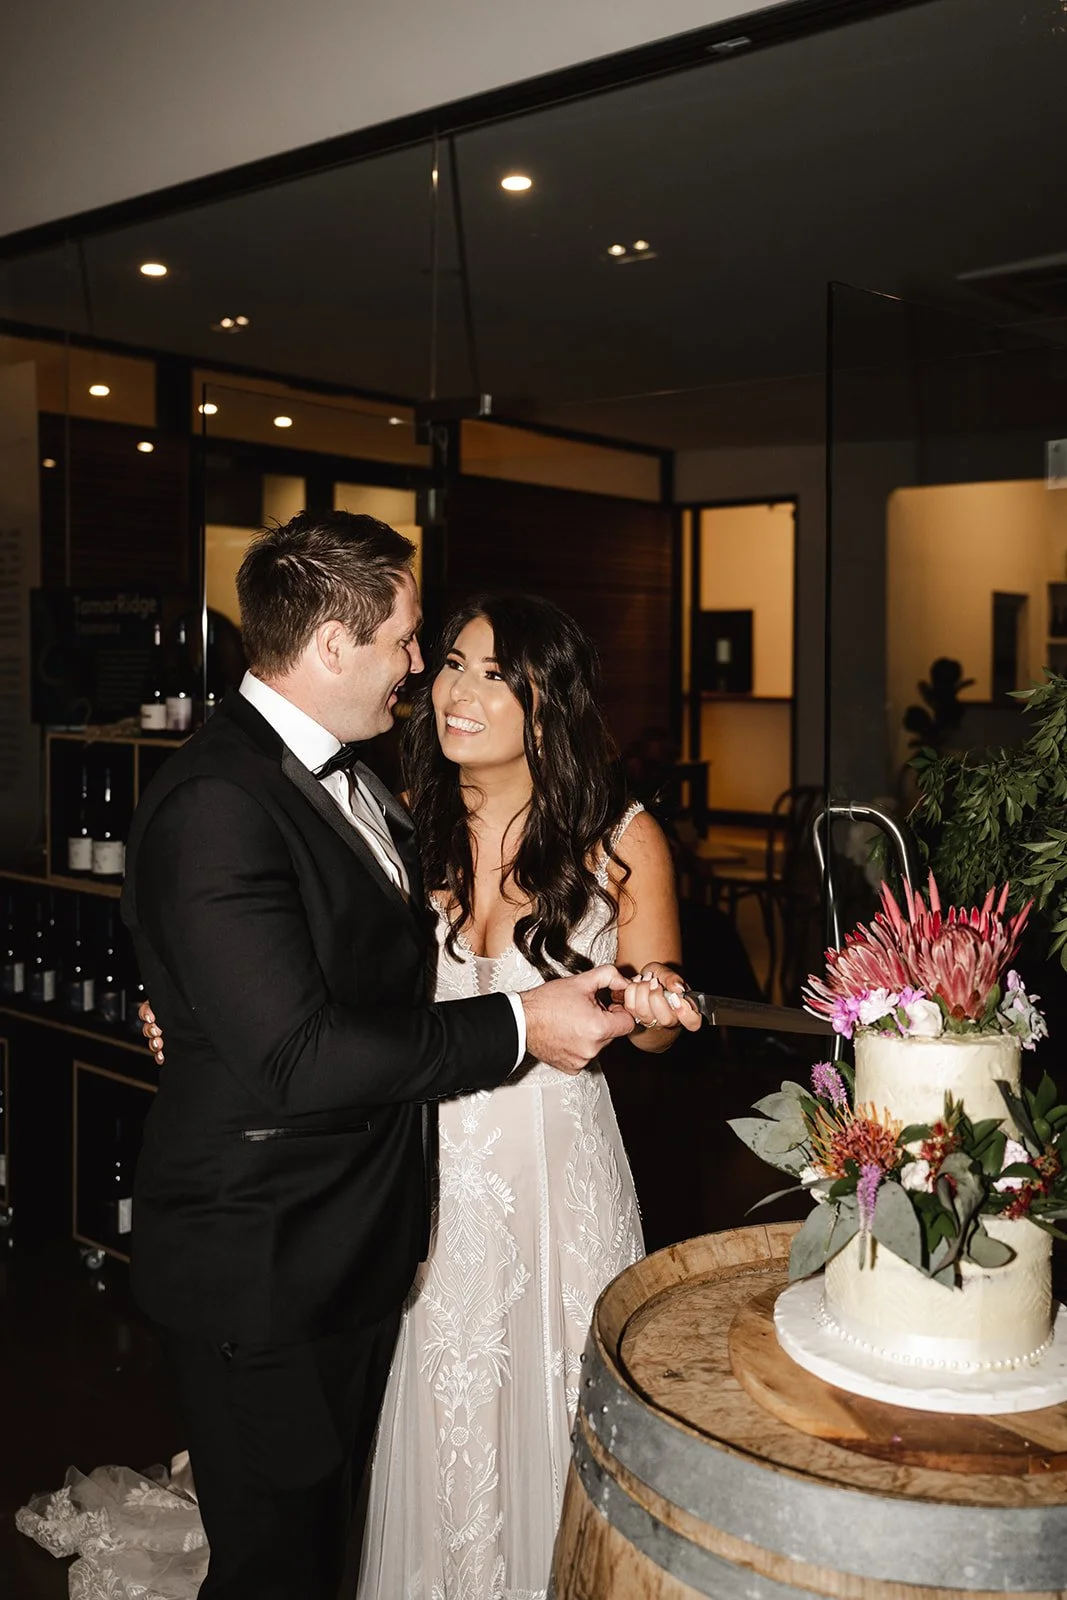
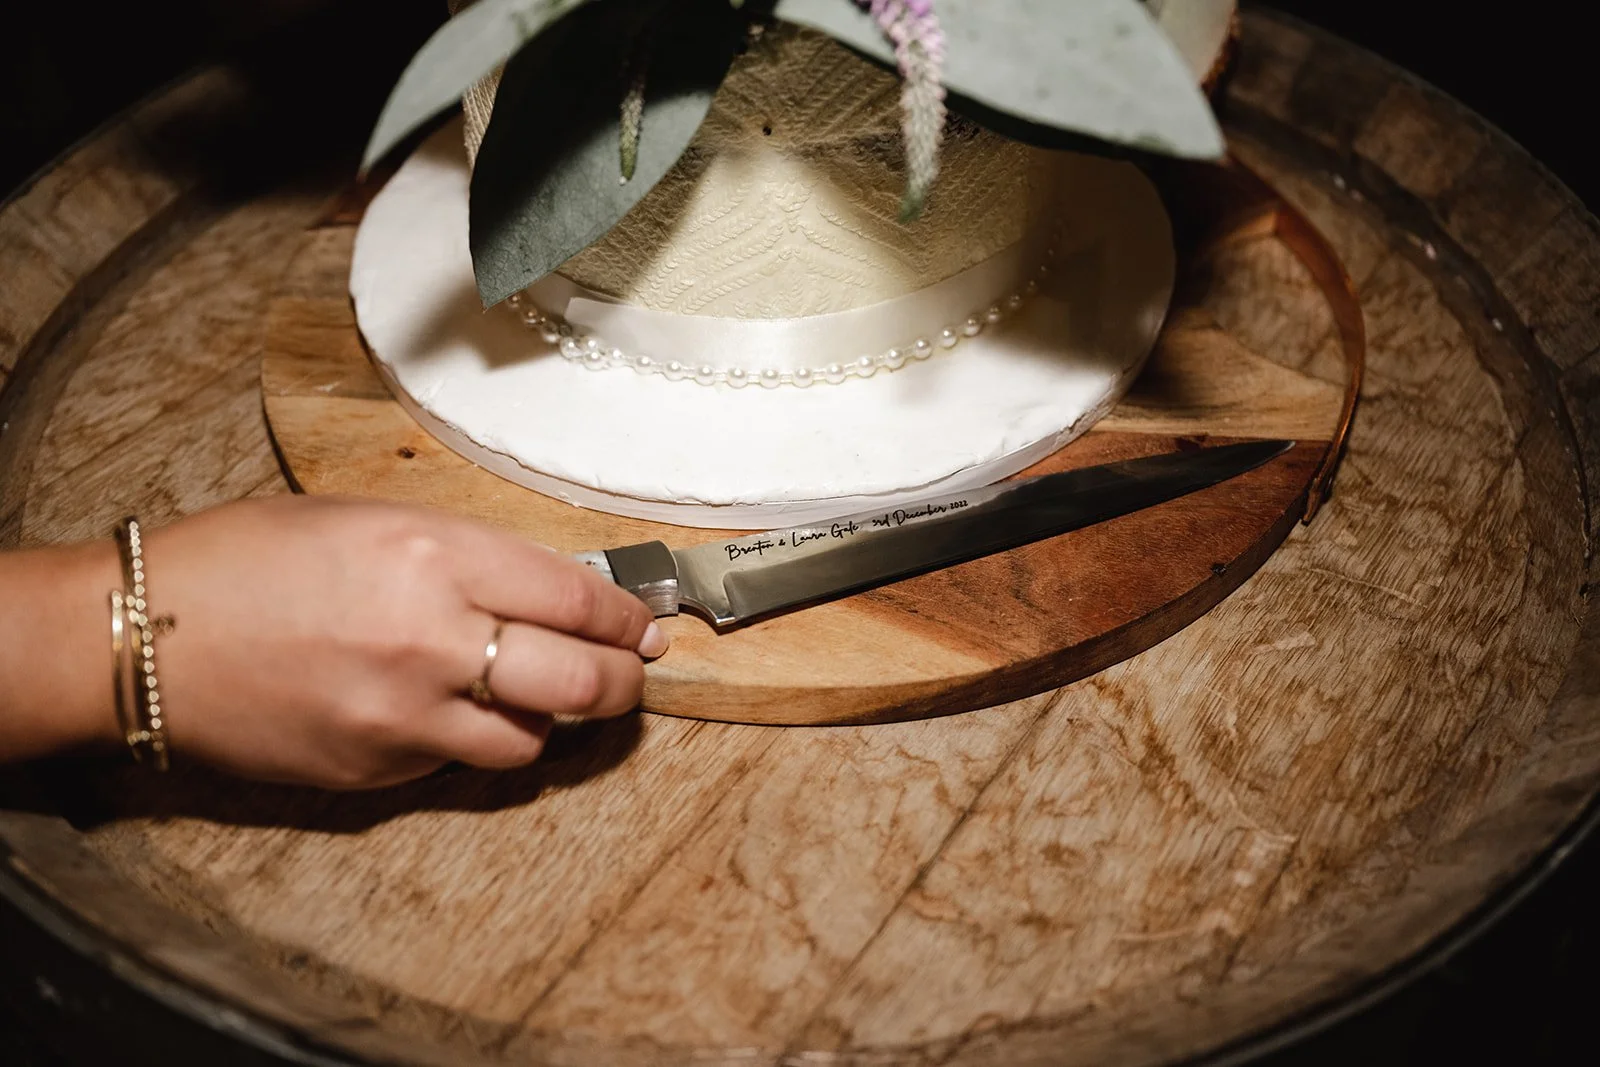
A Knife for a Wedding — And a Lifetime After
When my youngest daughter Laura was getting married, I wanted to make something that would live on well beyond the day itself. A knife to cut their wedding cake felt right—something both symbolic and practical. My hope was that it wouldn’t just mark the occasion, but become part of their shared life and history.
This knife also marked an important step in my own journey as a maker.
Up until that point, I had been working primarily with 1080 carbon steel, a material I could confidently heat treat in my forge. Heat treating is a critical part of knife making—it’s what gives a blade its strength, durability, and ability to hold an edge.
In simple terms, the process involves heating the steel to a point where its internal structure becomes uniform, and then rapidly cooling it (a process known as quenching). This is what gives the blade its hardness. However, a blade that is too hard can also be brittle, so it is then tempered—gently reheated to reduce that brittleness while maintaining the ability to take and hold a sharp edge. It’s a careful balance between hardness and toughness.
For this knife, I chose to work with stainless steel for the first time.
Stainless steel offers excellent corrosion resistance—ideal for a kitchen environment—but it demands far more precision during heat treatment. Unlike carbon steel, which is relatively forgiving in a forge, stainless steel requires tightly controlled temperatures and exact timing.
To achieve this, I invested in a proper heat-treating kiln. This allowed me to bring the blade up to 850°C, hold it there for five minutes, then increase to 1050°C for a further ten minutes before quenching. That level of precision simply isn’t possible in a gas forge that roars like a dragon.
That kiln has since become an essential part of my process, and now most of my knives receive their final heat treatment this way.
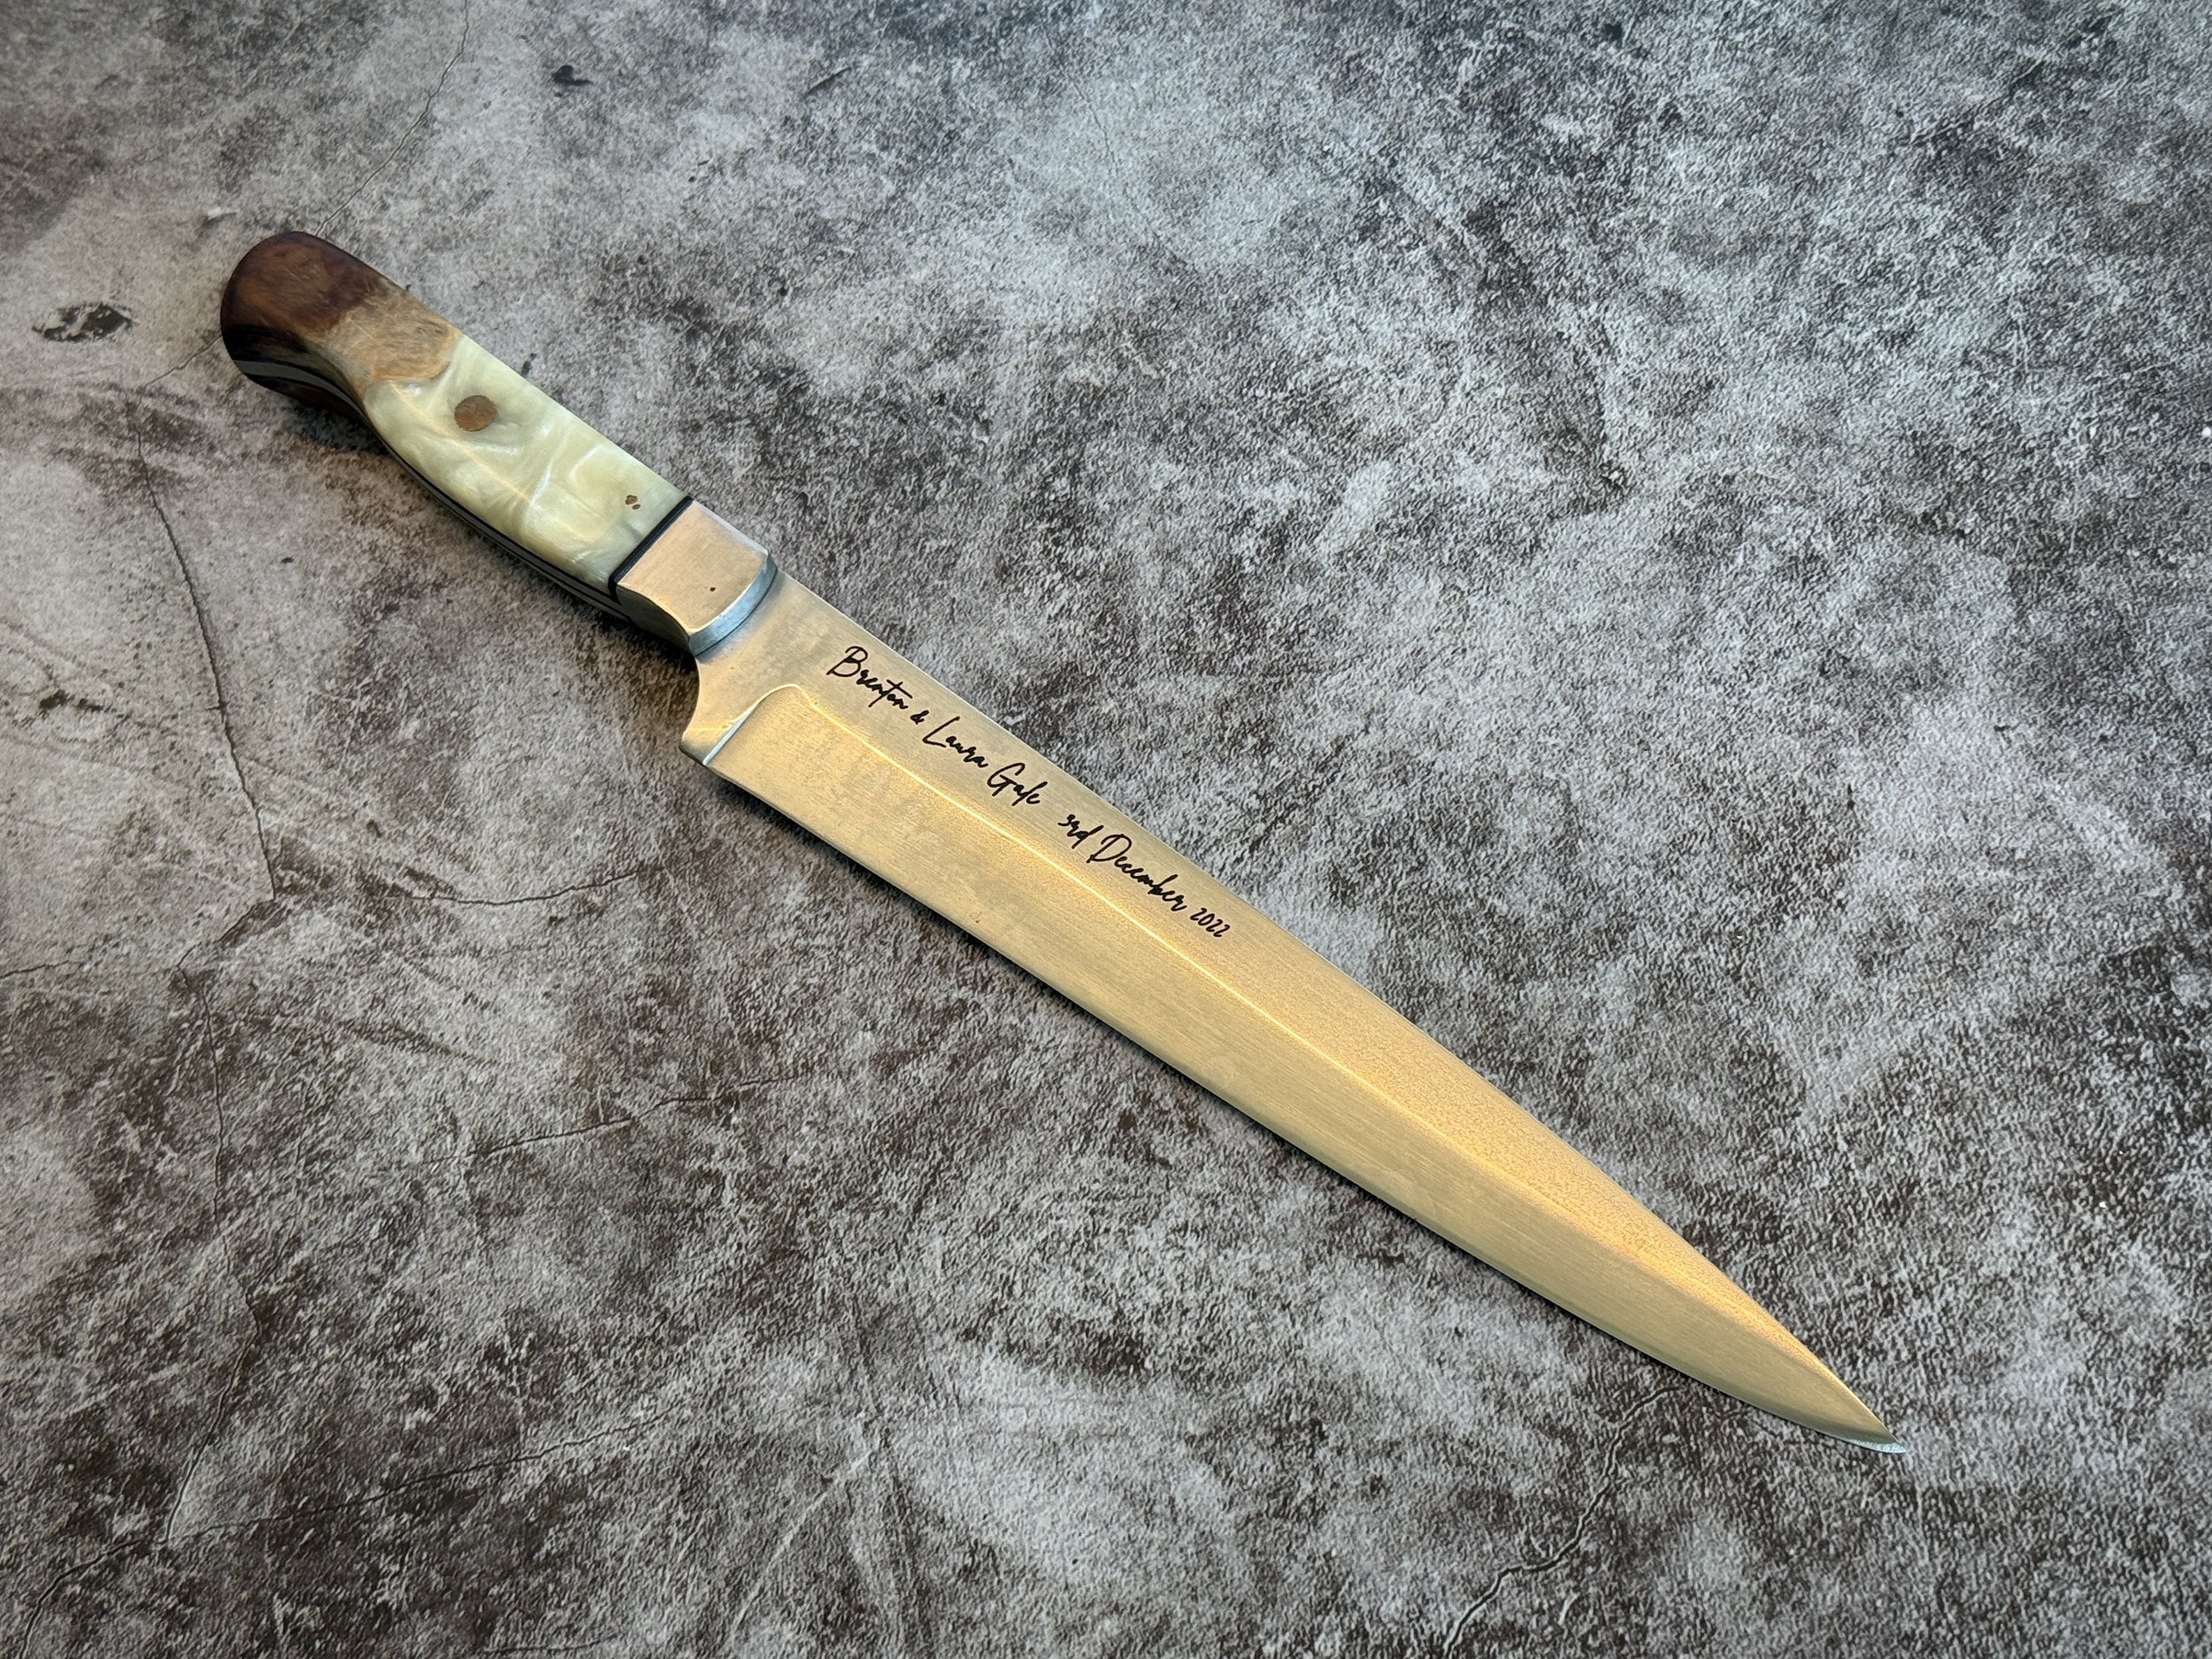
This knife also marked the first time I had a blade professionally engraved.
Until then, I had been using stencil-based electro-etching to apply my maker’s mark. While effective, it always carried a degree of risk—the stencil could shift slightly during the process, resulting in a blurred or indistinct mark. Because I prefer my mark to be small and finely detailed, this was always a point of concern.
Engraving proved to be a far more reliable solution.
I now use transparent placement guides to position my maker’s mark precisely before engraving, ensuring consistency across every blade. It has removed a layer of uncertainty from the process—and, importantly, the risk of having to refinish an otherwise completed knife due to a failed etch.
Looking back at the knife now, I can see things I would do differently. That’s the nature of any craft—you’re always learning, always refining. But at that point in my journey, it was something I was deeply proud of.
More importantly, it was made with love, and received in the same spirit.
wedding photos: Lu&Lo
And now, when we gather at Laura and Brenton’s home for family dinners, it’s a quiet pleasure to see that knife in use—no longer just a wedding piece, but part of the everyday rhythm of their kitchen.
Exactly as I had hoped.